Yesterday we popped over to our Conservation Workshop to see how things were going with our current tramcar restoration project, London County Council No. 1 (LCC1)
We timed it just right to have a lesson in how to re-canvas a tramcar roof, from Workshop staff members Richard, Matt and Lawrence.
In preparation for the re-canvasing, the roof had been stripped back and all the old canvas, rubber lining and old glue had been removed. The roof was then repainted and new rubber lining added to the curved front end sections.
In the past when re-canvasing tramcar roofs, we have had to do it in sections, as we’ve not been able to buy a large enough piece of canvas that would cover the roof. On this occasion though we have been able to source canvas material which is both wide and long enough, so the roof can be canvased in one whole piece.
The day before, Matt had mixed up the glue for the canvas which is a Butyl based sealing compound thinned down so it can be brushed on. You might think that you start at one end and work all the way along the roof, but Matt says it’s actually better to start in the middle and then work down to one end, and then swap sides.
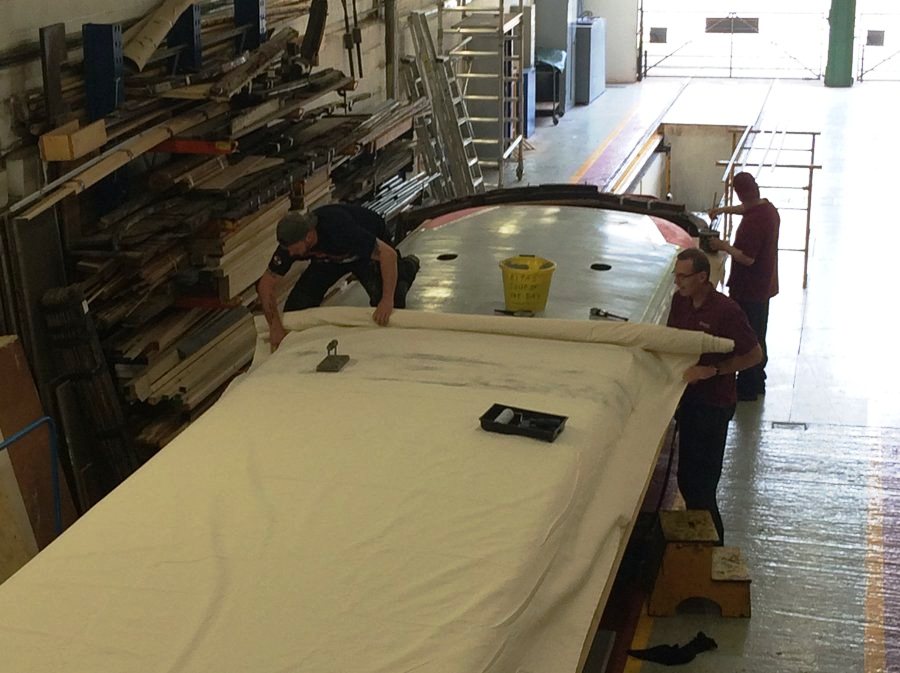
Matt and Richard pulling a section of canvas tight into place.
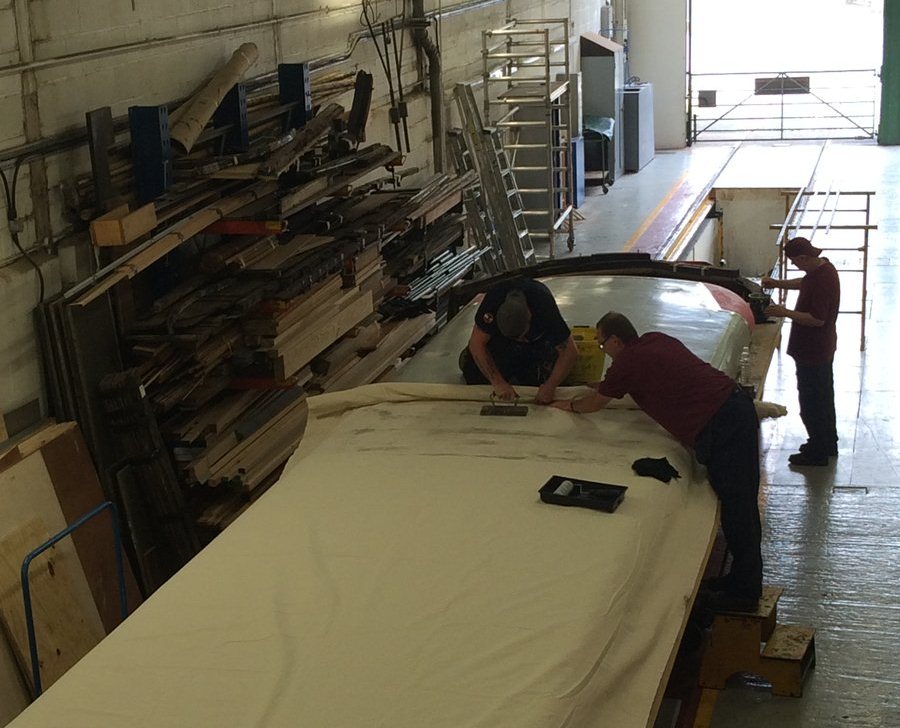
Matt smoothing out any bubbles of glue and wrinkles in canvas.
Now, we’ve discovered that apparently Matt is quite handy with an iron! Once you’ve applied the glue to the roof and pulled the canvas tight down onto it, Matt then smooths over it with essentially what looks like a Victorian flat iron, to remove any wrinkles in the canvas or bubbles of glue. Whilst he is doing that Richard is pulling the sides down tight and hammering small pins along the edge to hold the canvas tightly in place.
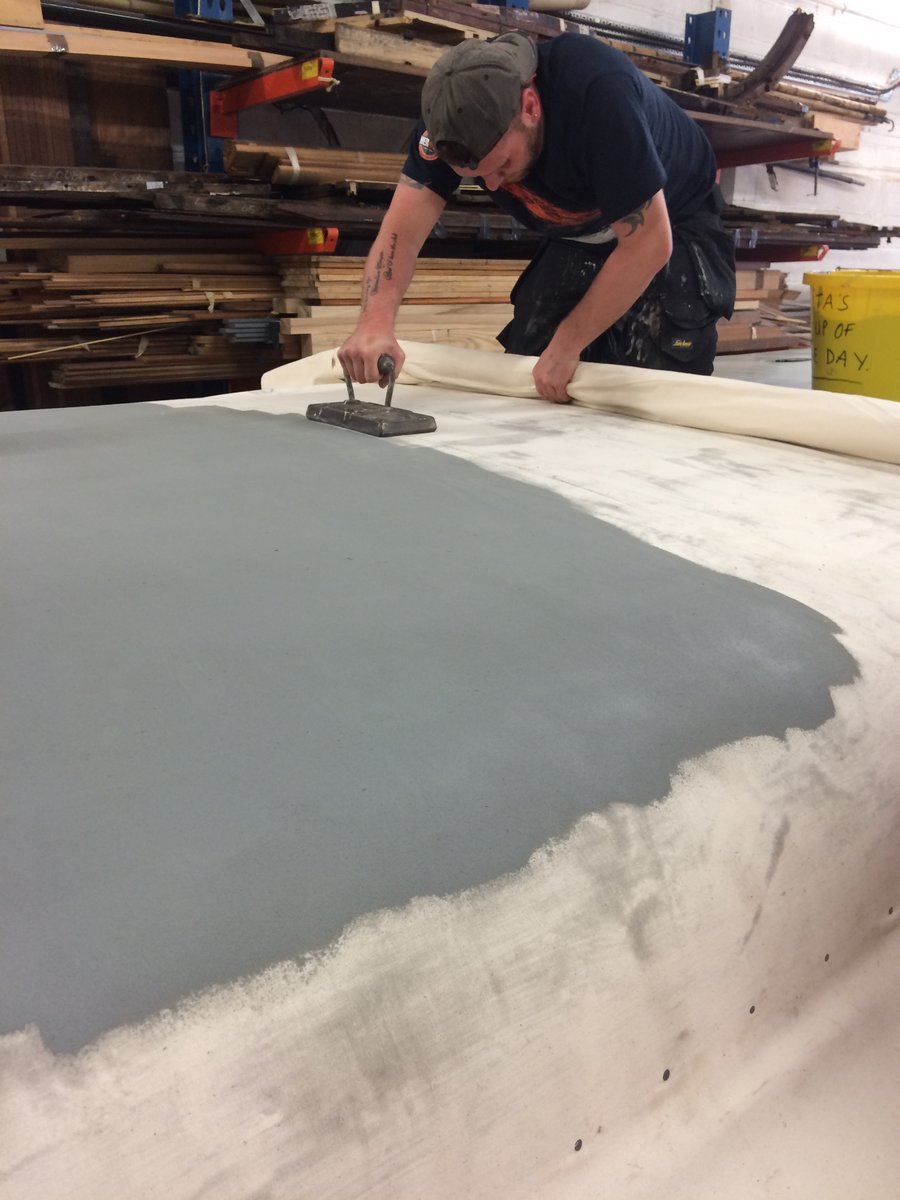
You can see where Lawrence has painted over the section of canvas Matt and Richard have just glued down.
You would think that the best thing would be to glue the entire piece of canvas in place first before thinking about beginning to paint it, but in fact Lawrence is following along behind Matt and Richard, and applying the first coat of paint to the canvas. The paint that Lawrence has is a watered down version of the paint that will finish the roof. The idea of applying a layer directly after the canvas has been glued down, is that it acts almost like a second adhesive to glue the canvas to the roof and dries quite quickly.
By the end of the day Richard, Matt and Lawrence had the whole roof recanvased and the first coat of paint finished on it.
The task now will be to build up the layers of paint on the canvas to create a watertight roof; in fact, we spotted Lawrence this morning starting on the second coat of paint.
Richard will also be starting work on replacing some of the trim around the edges of the roof, which will trap the edge of the canvas underneath and again make it watertight round the edges.
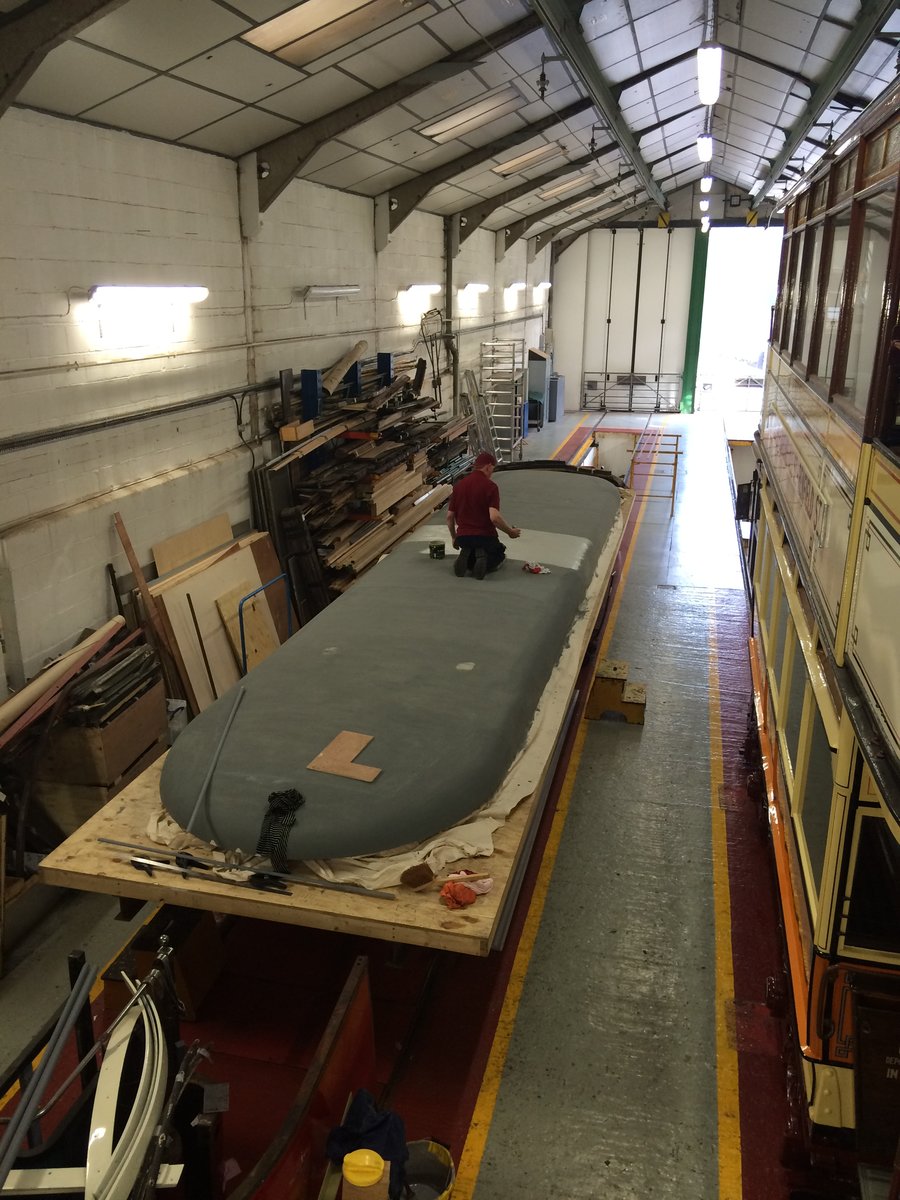
Lawrence working on the second coat of paint this morning.
